
This section is about how to embed a Proca widget on a website.
Proca widgets use HTML code to be placed on your website. On WordPress, this means that you need to insert a Custom HTML block. This code does a little bit of code magic by telling your website editor to put the Proca widget from our server on that webpage.
Copying the Widget Code
You can get the code from the Proca Dashboard, or in some situations, someone involved in the campaign may send it to you directly.
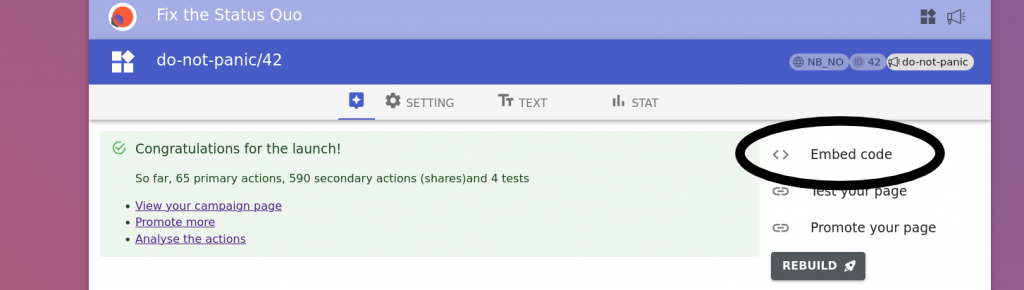

On the dashboard, navigate to the main Widget tab. Or, if you know your widget’s ID number, you can access it directly at: https://we.fixthestatusquo.org/widget/ID/embed. (The URL for the example widget is https://we.fixthestatusquo.org/widget/42/embed). Click on the list item “Embed code” on the right.
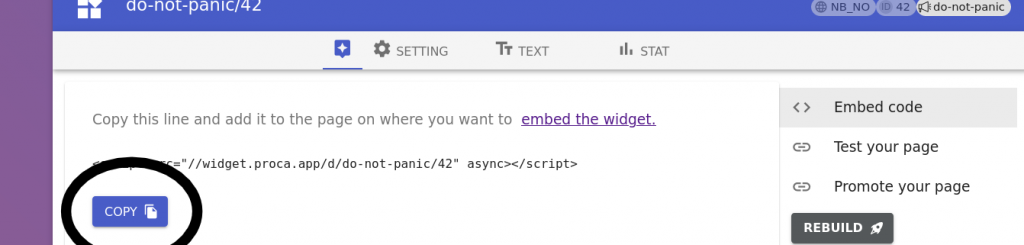
The embed dialog will open. Click on the ‘Copy’ button to copy your embed code to the clipboard. For our example, the embed code is <script src="https://widget.proca.app/d/do-not-panic/42" async></script>
If you did everything right, you we’ll be prompted with this screen.
You got the HTML code which you can place on your website anywhere you wish — that is all you need to do!
Custom HTML on a Website Builder
If you are using a CMS like WordPress, then you have to make sure that you are inserting the HTML code to be treated as code, as website builders will typically interpret what you give them as text to display instead. This guide will use the example of WordPress, but it will be a similar process for most others, and you should be able to find a guide online by searching ‘how to insert custom HTML into xxx’ in your preferred search engine.
The below video shows how it works on WordPress, using a ‘Custom HTML’ block to read it as HTML. As you’ll see, it takes less than a minute to do!
Guide Navigation
- Next Section: Testing your Widget
- Back to Contents Page